Sign In
Register
Menu
More
History
Try FanCentral
Games
Movies
TV
Video
Wikis
Explore Wikis
Community Central
Start a Wiki
Manage all your favorite fandoms in one place!
Try FanCentral
Don't have an account?
Register
Sign In
Community Central
Manage all your favorite fandoms in one place!
Try FanCentral
Don't have an account?
Register
Sign In
Search the world's largest fan wiki platform
Search
TV
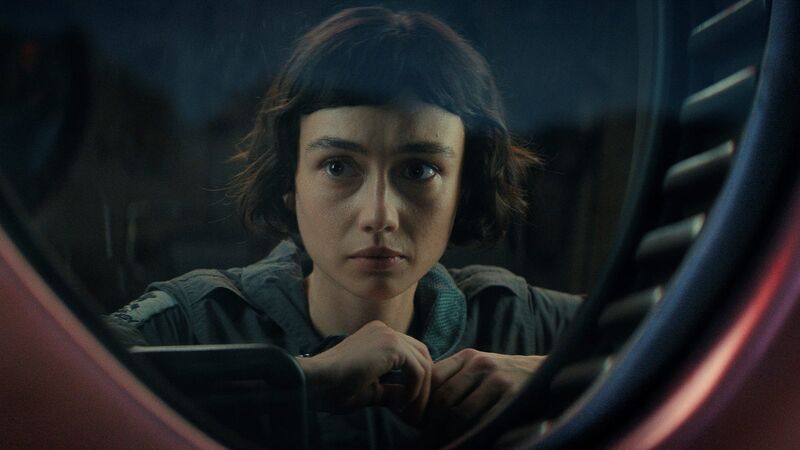
Alien: Earth's Noah Hawley Teases the Show's Human and A.I. Battle
TV
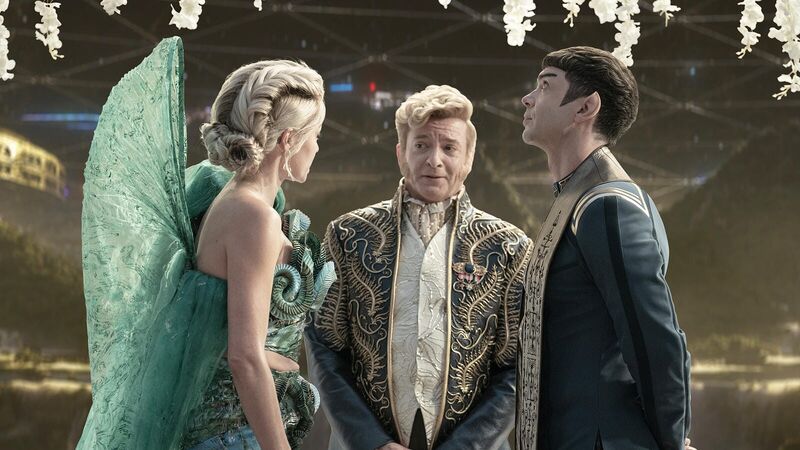
Star Trek: Strange New Worlds Bosses Confirm Theory of Rhys Darby's Character
TV
Netflix's Assassin's Creed TV Series Moves Ahead With Halo Veterans
MOVIES
The Legend Of Zelda Live-Action Film Lead Actors Confirmed By Nintendo
TV
Stranger Things: Watch the First Trailer for the Final Season
e.l.f. Cosmetics and Honkai: Star Rail Give Anime Expo 2025 an Electric Makeover
TOP WIKIS
GAMES
Terraria
Minecraft
Genshin Impact
MOVIES
Star Wars
Harry Potter
Marvel
TV
Memory Alpha
Arrowverse
SpongeBobia
ANIME
One Piece
Naruto
My Hero Academia
Plus over
250,000
more to explore
Movies
View All
Popular Wiki Pages in Movies
Harry Potter
Harry Potter Wiki
Neo
Matrix Wiki
Harley Quinn
DC Extended Universe
Snake Eyes
G.I. Joe Wiki
Disney Princesses
Disney Wiki
Godzilla
Monster Verse Wiki
Top News Stories in movies
GameSpot
5d
The Legend Of Zelda Live-Action Film Lead Actors Confirmed By Nintendo
Nintendo has found its Link and Zelda.
GameSpot
Jul 8
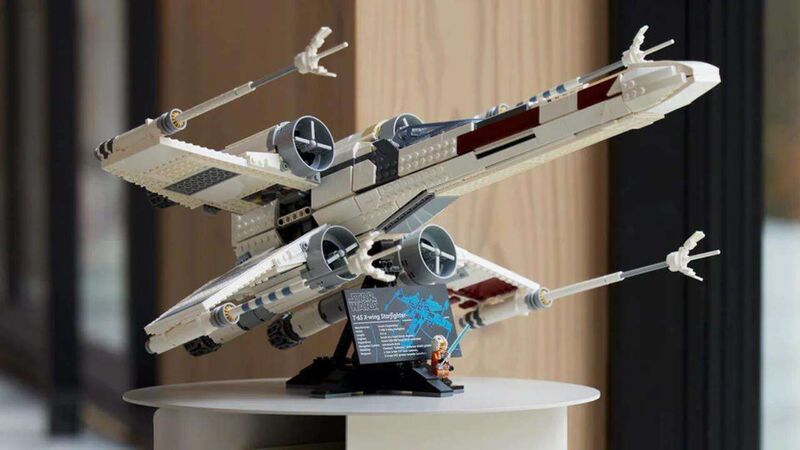
X-Wing Ultimate Collector Series Lego Star Wars Set Gets Rare, Huge Discount
Walmart has a bunch of notable Lego discounts in its big sale running alongside Amazon Prime Day 2025.
GameSpot
Jun 18
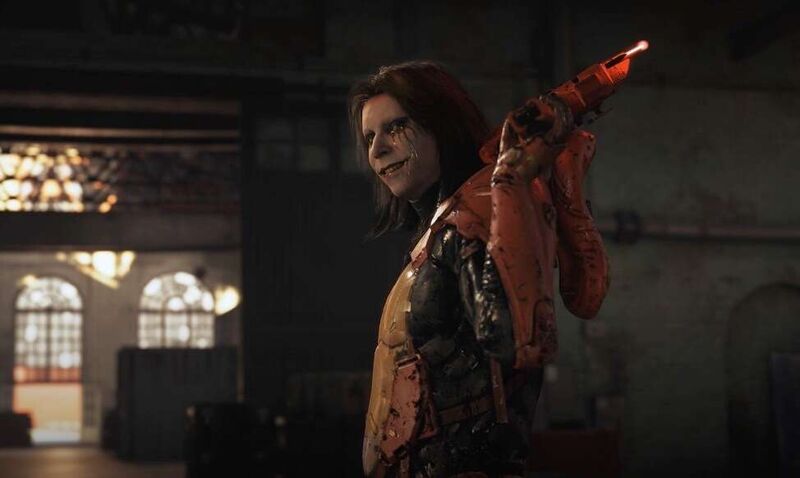
"Adult-Targeted" Death Stranding Anime Movie Announced, Joining Live-Action Film
Death Stranding continues to expand beyond gaming.
Games
View All
Popular Wiki Pages in Games
Ellie
The Last of Us Wiki
Lara Croft
Tomb Raider Wiki
Nathan Drake
Uncharted Wiki
Link
Zelda Wiki
Pikachu
Pokemon Wiki
Rathalos
Monster Hunter Wiki
Mileena
Mortal Kombat Wiki
Miles Morales
Spider-Man Wiki
Top News Stories in games
GameSpot
Jul 11
Every Xbox Game Still Coming (We Think) After The Recent Layoffs
Layoffs at a number of Xbox teams has jeopardized many projects, so we summarized every game we think is still releasing.
GameSpot
Jul 11
Tony Hawk Pro Skater 3 + 4: Comparing All Skaters To Their 2000s Versions
"Hey, you look a lot like Tony Hawk."
GameSpot
Jul 11
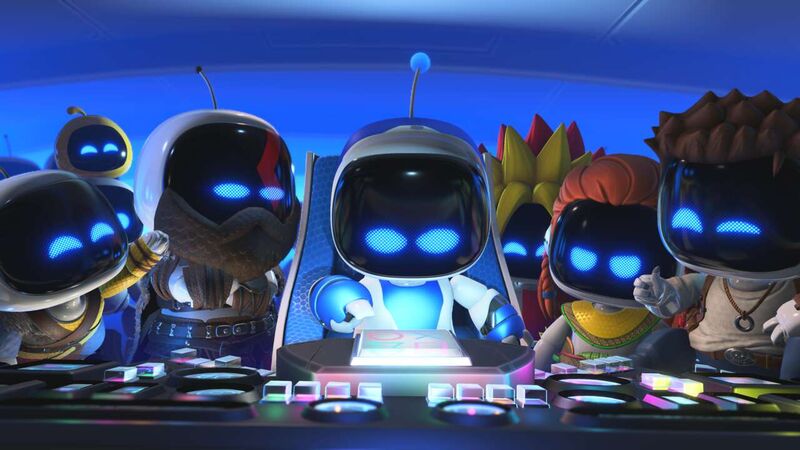
Astro Bot - All Cameo Bots And Secret Characters List (July 2025 Update)
Astro Bot hides over 300 secret bots, including 195 cameo bots from other games spanning PlayStation's long history. Check them all out here.
GameSpot
Jul 11
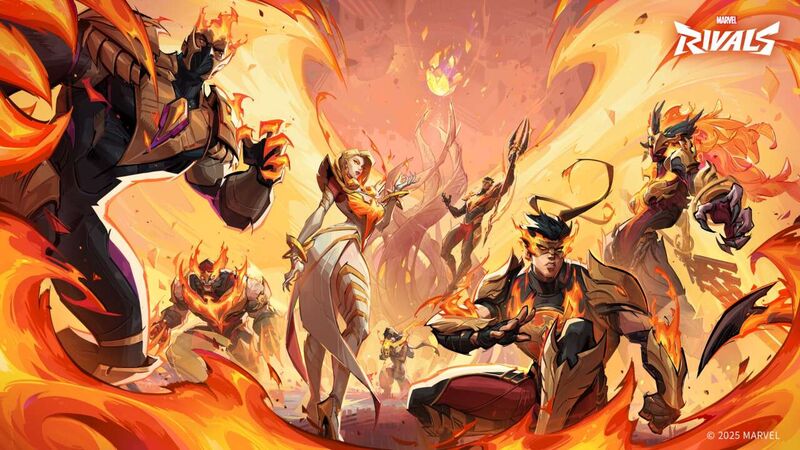
Marvel Rivals Battle Pass Season 3 - All Skins, Emotes, And Other Rewards
Marvel Rivals Season 3 battle pass features symbiote and Phoenix costumes.
GameSpot
Jul 11
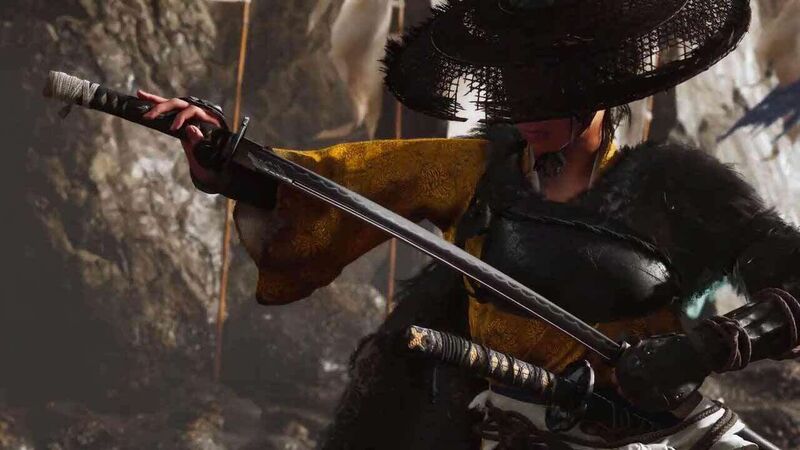
Ghost Of Yotei Is Getting A Limited Edition PlayStation 5
You can celebrate the arrival of Ghost of Yotei with a special limited edition PS5 this fall.
GameSpot
Jul 11
Ghost of Yotei: 35 New Things We Just Learned About The Game
From evolved combat to an emphasis on forging your own path forward, here's everything new we just learned about Ghost of Yotei.
TV
View All
Popular Wiki Pages in TV
Grogu
Star Wars Wiki
Geralt
Witcher Wiki
The Boys S3
The Boys Wiki
Ahsoka Tano
Star Wars Wiki
Zuko (ATLA)
Avatar Wiki
Starfire
Titans Wiki
Sex Education S3
Sex Education Wiki
SpongeBob
SpongeBob Wiki
Top News Stories in tv
TVGuide.com
26m
Alien: Earth's Noah Hawley Teases the Show's Human and A.I. Battle
'And they're both trying to kill us'
TVGuide.com
5d
Star Trek: Strange New Worlds Bosses Confirm Theory of Rhys Darby's Character
A trickster from The Original Series is who you thought he is
GameSpot
5d
Netflix's Assassin's Creed TV Series Moves Ahead With Halo Veterans
After a previous top boss quit, the show has signed on new showrunners and is moving ahead.
TVGuide.com
Jul 16
Stranger Things: Watch the First Trailer for the Final Season
The kids are not going to be alright
TVGuide.com
Jul 15
2025 Emmy Noms: Severance and The Penguin Lead the Pack
Adolescence, The Pitt, The Studio, and The Last of Us also had good days
TVGuide.com
Jul 14
Here's Your First Look at HBO's New Harry Potter
It's really happening!
Search the world's largest fan wiki platform
Search
The latest trends, delivered straight to your inbox.
Stay up to date on all the latest in gaming and entertainment.